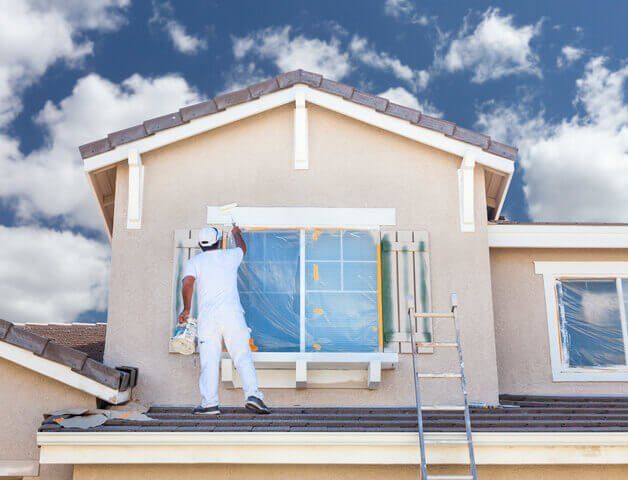
Painting Pressure Treated Wood
Painting Pressure Treated Wood
Wood that is pressure treated is an amazing option for outdoor use. As suggested by its name, it has been treated using sealants and chemicals, protecting it against harsh elements outdoor such as wind, rain, snow, bugs, and mildew. If you are the type of person who does not like looking at that green hue that is common in pressure treated wood, the good news is that there is a solution for you.
Even though it does not really need a lot of extra work, it requires patience as there is a need to wait for some time for the pressure treated wood to be dry enough and clean and ready for painting. The good thing is that pressure-treated wood is paintable, though it should be properly done; otherwise, there is a tendency that the paint will not last long enough.
Materials You Will Need
- Stiff-bristled brush
- Garden hose
- Paint sprayer
- Exterior paint primer
- Paintbrush (4-inch)
- Liquid detergent (Mild)
Steps
1. Clean the Wood Thoroughly
Before starting your painting project on pressure-treated wood, it is very important that it is cleaned accordingly. With this, you can use a brush that is stiff-bristled with soap and water. After given enough attention to the surface as a whole, you can rinse the wood off, allowing it to dry completely. When brushing to scrub the surface clean, make sure to do so in the direction of the wood grain, and not against it.
2. Allow for the Wood to Dry
Unsealed, regular wood typically dries in a few days. However, it could take longer with pressure-treated wood, highly depending on the treatment that is applied to the wood. It could range from a few weeks or even months. Painting pressure treated wood before drying will only be a waste of your time since the paint will simply peel away when the moisture starts to push up underneath.
In order to check if the wood has already dried completely, you can drip a few drops of water on it. If you notice the water soaking in, it means that the wood has already dried, porous enough to accommodate painting. On the other hand, if the water still stays on the surface in drops, the wood needs to dry some more before starting to paint.
3. Pretreat with Primer
Using a primer is very important before painting, particularly since pressure-treated wood is quite picky when it comes to holding on paint. As such, it is important to start with making sure that your primer is designed for exterior use. The label should suggest that it is designed for pressure-treated wood. In the absence of these designations, the primer and the entire painting job may not last long because of the resistance of the wood to liquids. Make sure to coat the wood first with the primer while following the instructions in the label. Keep in mind that when you are applying paint or primer, a thin coat tends to dry faster, turning out more evenly distributed compared with thick coats.
4. Allow the Primer to Dry
After the primer is applied, allow for it to dry. This usually takes a day or two, highly depending on the type of primer that you use. Check the label of the primer to know how fast it will dry, but keep in mind that you are dealing with a treated wood that may need more drying time in order to see the best results.
5. Start Painting
Now you can finally start painting your pressure-treated wood. To do so, you can apply at least two coats of paint in order to see an even finish. It has been observed that Latex paint is best for pressure tested wood because paints that are oil-based may resist the surface. The right paint job is expected to last for a few years without expecting too much damage.
Conclusion
Painting pressure treated wood is worth a project! It is also worth mentioning that in exterior applications, when the wood will be exposed to the elements of the environment, paint usually lasts longer on surfaces that are vertical, such as fences, than horizontal ones. Aside from painting pressure treated wood, there are also other treatments that you can use, such as staining pressure-treated wood, which is a good option if you do not like repainting your pressure-treated wood once every 2 or 3 years. Another possible option is allowing the wood to weather and turn into gray, and coating it with sealant for protection. While sealant needs to be reapplied, this could be less of a hassle than actual repainting, which usually involves the need to scrape away some parts of the old painting finish. All in all, painting pressure treated wood will give that look that makes it unique.


